Web Widget
Placing a web widget on your home page can help you engage your customers on your page. Add it to the different pages you want to be active, with the messaging channels that best fit your audience.
Create a New Web Widget
Go to the Web Widgets page and press the Create New Web Widget button.
Upload a bot avatar and input a hex code. The hex code will determine the color of the widget icon and web chat header.
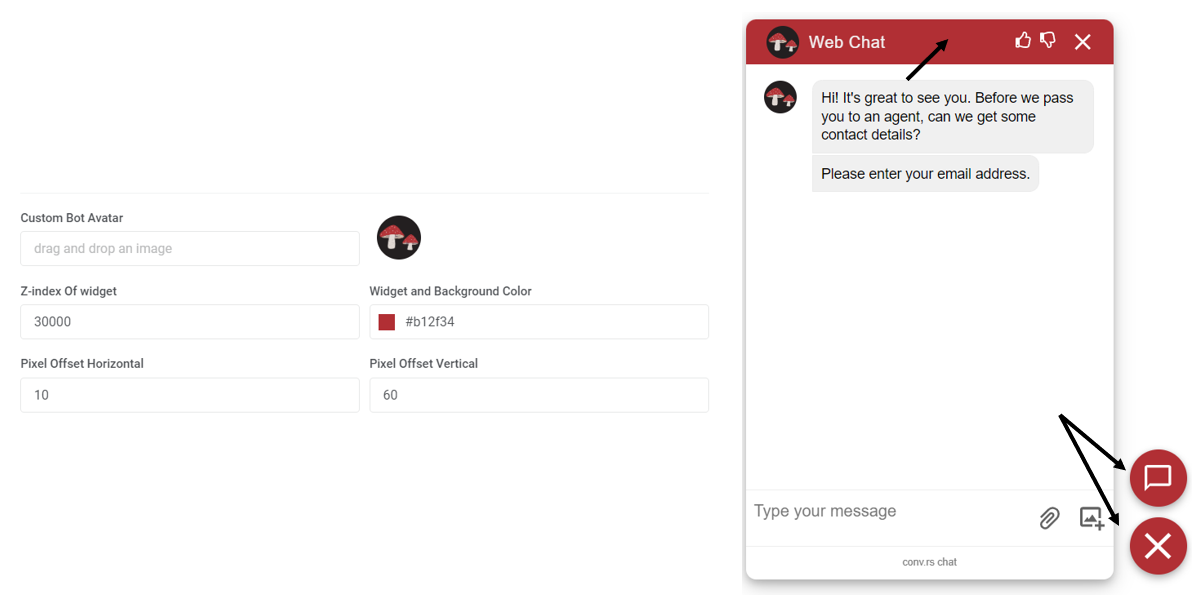
The Z-index as well as Pixel Offset fields are predetermined but they can be edited anytime if you want to update the widget placement on the web page it is active on.
Linking Bots/Channels to the Web Widget
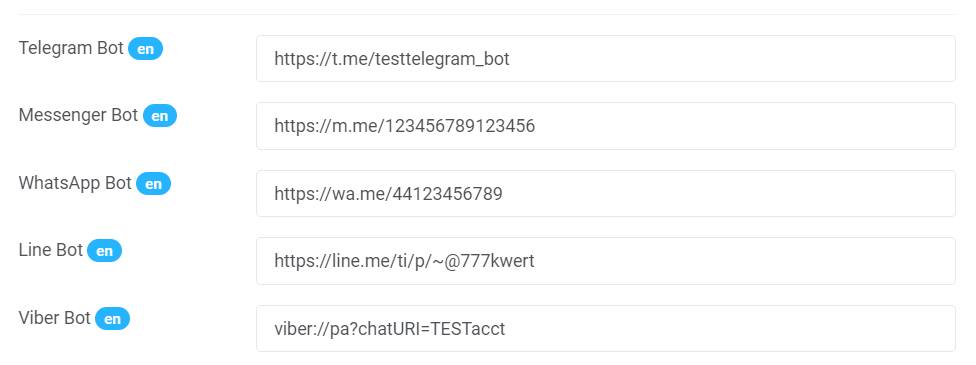
The following messaging channels can be linked to the widget. Input the following links using their specific formats:
- Telegram: X is the Telegram username set through BotFather - https://t.me/XXXXXXXXXX
- Messenger: X is Facebook Page ID integrated with the dashboard - https://m.me/XXXXXXXXXXXXXXX
- WhatsApp: X is the phone number associated with WhatsApp (including the country code) - https://wa.me/XXXXXXXXXXXX
- LINE: X is the Bot basic ID from the LINE Developer console - https://line.me/ti/p/~XXXXX
- Viber: Insert a deep link that is generated once the Viber bot is created. X represents the URI set on the Viber Partner Account - viber://pa?chatURI=XXXXX
- Web Chat: Choose the bot through the dropdown menu.
Adding Web Widget to Your Website
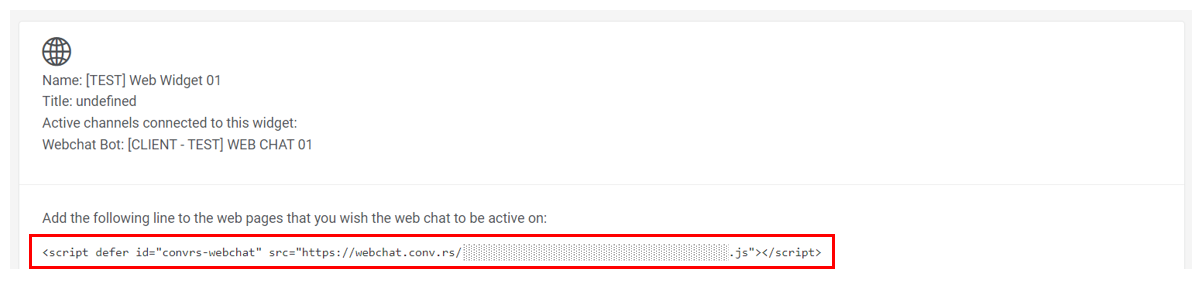
A script is generated once a widget is created. Copy the script and add it to the page you want the widget to be active.
Multiple Languages on Web Widget
As long as there is a clear HTML language tag on your website to separate each language page, you need to enable the multiple languages option on the widget and add the matching language codes.
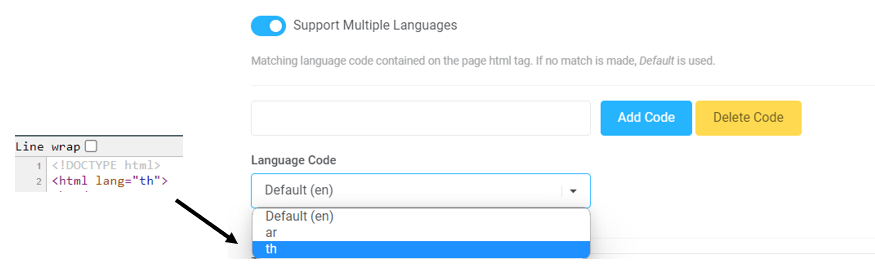
Input the different channels you want to be active on the widget specific to the language site. You only need to press the ‘Update Web Widget’ button once every language code section has been modified accordingly.
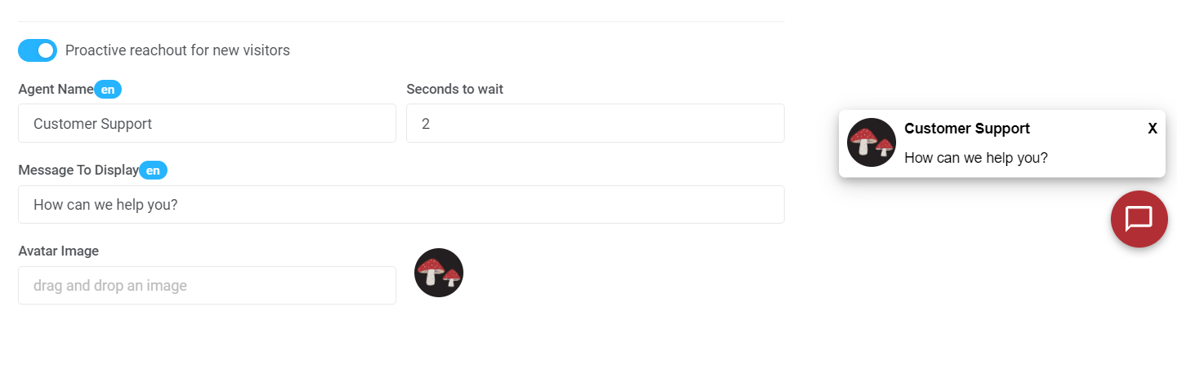
Pop Up Greeting on Web Widget
The proactive reach-out option can be enabled if you want to make the web widget more noticeable or to direct users into engaging you on the different channels you have made available for them. Toggle the option on, and add the necessary fields. You can also modify this if you have the multiple languages option set up. This way, when a customer accesses the Thai site, for example, the displayed message will also be in their native language. Press the ‘Update Web Widget’ button once done.
[RO231122v1]